Continuing my definitive and simplified guide to eyeshadow basics and application. I mention this post would cover the important matte eyeshadows, the browns.
The Browns
I chose three browns with varying degrees of value - a light brown, a medium brown, and a dark brown. Yes, they are all matte!
First, why are they matte? Matte colors are more concentrated in color.
Two, when they are layered on top of shimmer, they become shimmery anyway!
Three, since they are layered on top of some shimmer, the saturation will be diluted.
The depth of brown chosen will determine the end eye look.
- You want something very soft and very natural; choose the light brown.
- A wearable daytime look, go for the medium brown.
- A more defined and slightly smoky look, go for the dark brown.
Placement
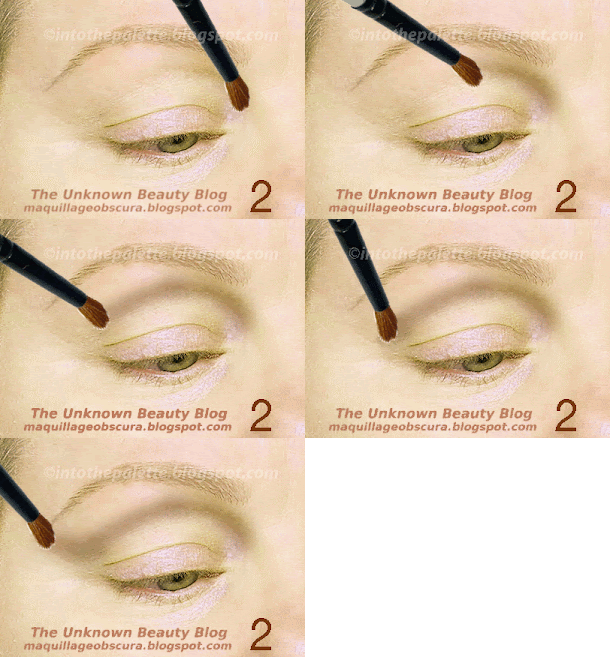
The browns are first applied all over the lid and up to the orbital ridge. The second place is to enclose the lid. The third is to use as a thick eyeliner right on the banana (lid).
Next, there are various areas to line like the orbital ridge, bottom lash to top for depth, and the bottom eyeliner.
For dark brown I show the different eyeliner methods from regular, winged, to tightlining.
These are the areas of the eyes the brown eyeshadows are applied. Once you know all this, everything about eyeshadow really gets easier and faster!
In the next post, I will discuss contrast.


